Pages

Monday, January 13, 2014

Stocking holder!

I had seen a picture on Pinterest of a board with hooks to hang stockings on, so I knew I wanted to make something similar for my Mom and Dad's house. They do not have a fireplace or  mantle to hang stockings on so I thought this would be perfect! My Dad and I worked on this project together and I loved every minute of it!

We found a piece of old barn wood and it was actually perfect size for where we wanted to hang it so we didn't need to cut it down at all.
 We used rocks as markers to figure out the spacing and where we wanted to put the knobs.
 I had collected knobs from all over, one was a vintage one that was on an old dresser at my Grandparent's house, a couple were from Pier One, and the others I had gotten from a local few different local hardware stores. 
This is the only picture I got of it hung up with all of the stockings on it, but you get the idea! It turned out just how I had imagined and I really like the way it looks! 


XOXO, Whitney


Monday, January 6, 2014

The most wonderful time of the year!

I love Christmas time! It is by far my favorite time of the year! I love everything about it, the sights, the smells, the food, and the time with the people I love the most! 


This year I went with a theme of red and gold, and a lot of glitter! 
Here are a few looks from around the house!


Wrapping gifts is one of my favorite things to do, ever.

I made this money tree for a family gift exchange. The limit is $20-25, I got the little tree on sale from Michael's and then folded 20 $1 bills and hung them as ornaments on the tree. This is a cute and different way to give cash as a gift! 


And of course I probably had a few too many red Holiday cups from Starbucks this season!
 Hope you all had a fabulous Christmas season, and are having a great start to 2014!

XOXO, Whitney

Sunday, January 5, 2014

Handmade Flower Crown.

My sister Lindsey, our friend Carlie and I had talked about doing a photo-shoot just for fun, for quite a while. A few months ago now, we packed up a picnic basket, and 2 vintage suit cases full of outfits and accessories and props and headed out to the canyon for our photo-shoot.  Flower crowns have been so popular this year, in weddings and photo-shoots, so I decided to make one for our pictures. It was very simple, and I absolutely loved how it turned out!

What you'll need:
3 strips of scrap fabric
2 tiny clear rubber bands
Real or artificial flowers
A hot glue gun & hot glue


I used scrap pieces of fabric that I had.
 I tied 3 strips together with a tiny rubber band, then I braided the fabric together.
I made the strips extra long that way the crown could be tied on, 
and easily removed for the three of us to wear! 

 I bought 2 bouquets of flowers from Trader Joe's.
You can also totally use artificial flowers!
I then cut all of the blooms off of their stems.
 I weaved leaves and some of the extra foliage that was in the bouquets in through the braid and hot glued them to back, to make sure they were secure. I hot glued the flowers onto the fabric. For the heavier flowers (like the sunflowers) I pushed what was left from the steam through the fabric braid and hot glued on the back to secure.
Here it is all finished!
And take a look at the pictures below to see how gorgeous the flower crown
 looked in our photo-shoot!


Thanks for stoping by and Happy 2014! 
I promise you will be seeing a lot more posts this year!

xoxo, Whitney


Monday, October 28, 2013

Earring Holder

My amazing sister has more earrings then I can count! She had all of her earrings in many different places and was not able to see all of the ones she has. I decided to make her this frame so that all of her earrings could be in one place and in plain sight! 


I had purchase this picture frame a while back, it was on clearance at Ross. I took the back off and took the glass out. I then just stapled metal screen to the back of the frame with a staple gun. I hot glued around the edges, over the staples to keep the screen in place, and also keep the ends of the screen from fraying. 


I bought some little hinges and screwed them into frame and mounted it on her wall. 
I put the hinges so that opens from the wall so that she can easily get the backs and get the earrings off of the frame without having to take it off of the wall each time.
She absolutely loves it and says that it's better than anything she was searching for! 
And she loves that all of her earrings can be seen! 

XOXO, Whitney

Wednesday, September 25, 2013

Fall is Falling!

I am so excited that Fall is finally here, it is by far my favorite time of year! Living in Southern California, if I waited for it to cool down to decorate for Fall I would be waiting until December! So even though it was nearly 100 degrees yesterday, I decided to decorate for fall. 

I wanted to make a table setup for the kitchen table, so I decided to make a little FALL sign to go along with it.

The other day, my Dad cut some branches off of a tree in the yard so I snagged a few pieces from one of the branches! I then cut them to be about an inch and a half thick. 


I used a stencil, and outlined the letters of the word FALL with a black Sharpie.


I used acrylic paint and painted within the outlines.
I added a button accent to the A.


This is how they turned out, and I love them!
A fall centerpiece for the kitchen table.

Yay Fall!
 XOXO Whitney

Saturday, September 21, 2013

Titus' 3rd Birthday Party

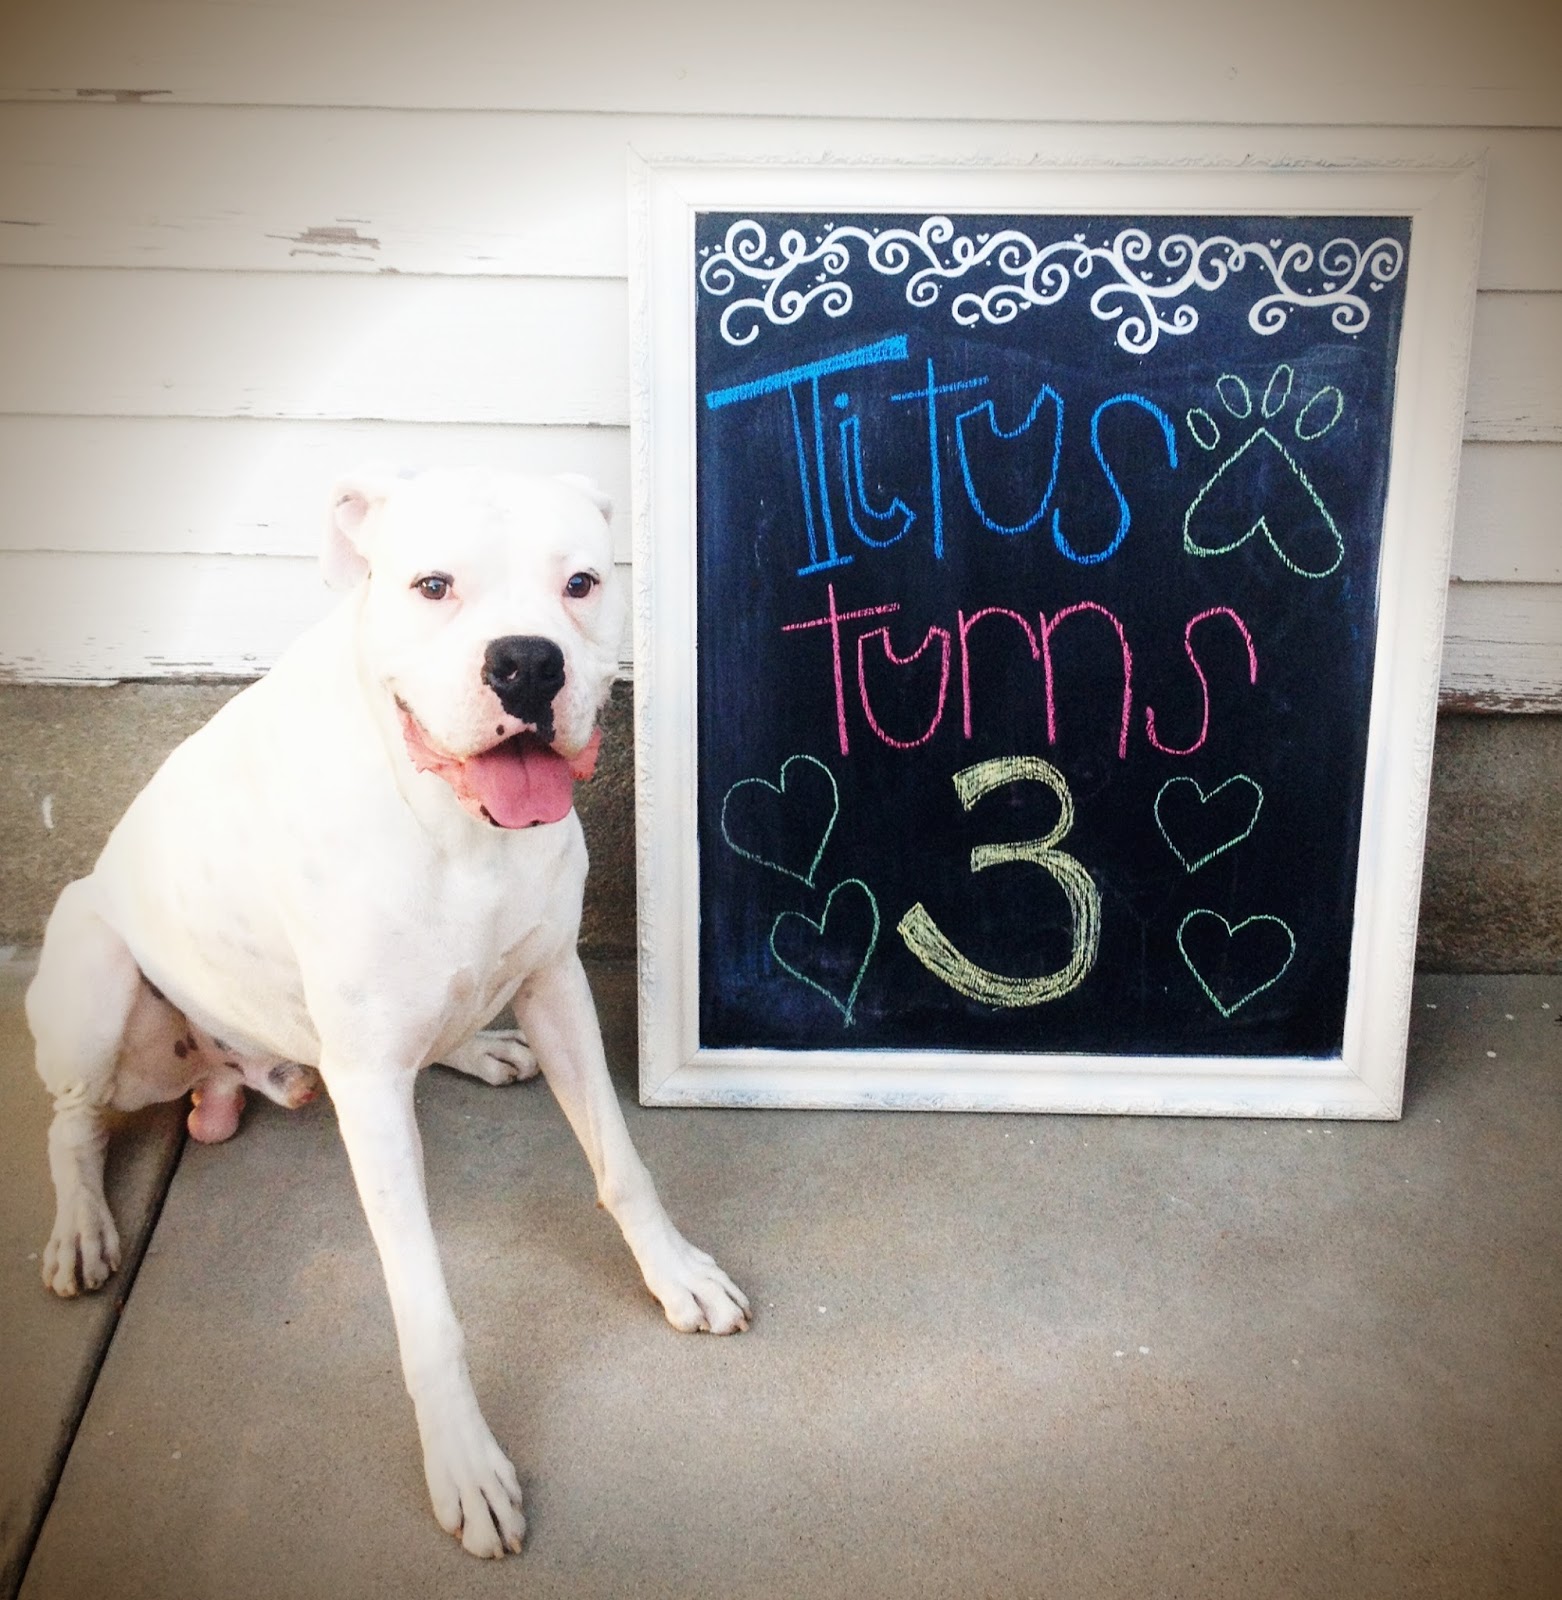
Like I said in my very first blog post, my nephew pup Titus is my favorite thing in the world!
I know it sounds silly but he seriously brings so much joy to my life! He is like a person in our family, so I knew that I wanted to throw him a fabulous 3rd Birthday Party!
I made a little photo booth for his party.

This is Titus' Best Friend Princess.

Titus with his Mommy and Daddy!

These were the treat bags for the animal guests, I went to Petco and bought treats from their treat bar.
They have the cutest little "chocolate" chip cookies, and other fun treats.

For the people treat bags I made Puppy Chow, also known as Muddy Buddies.

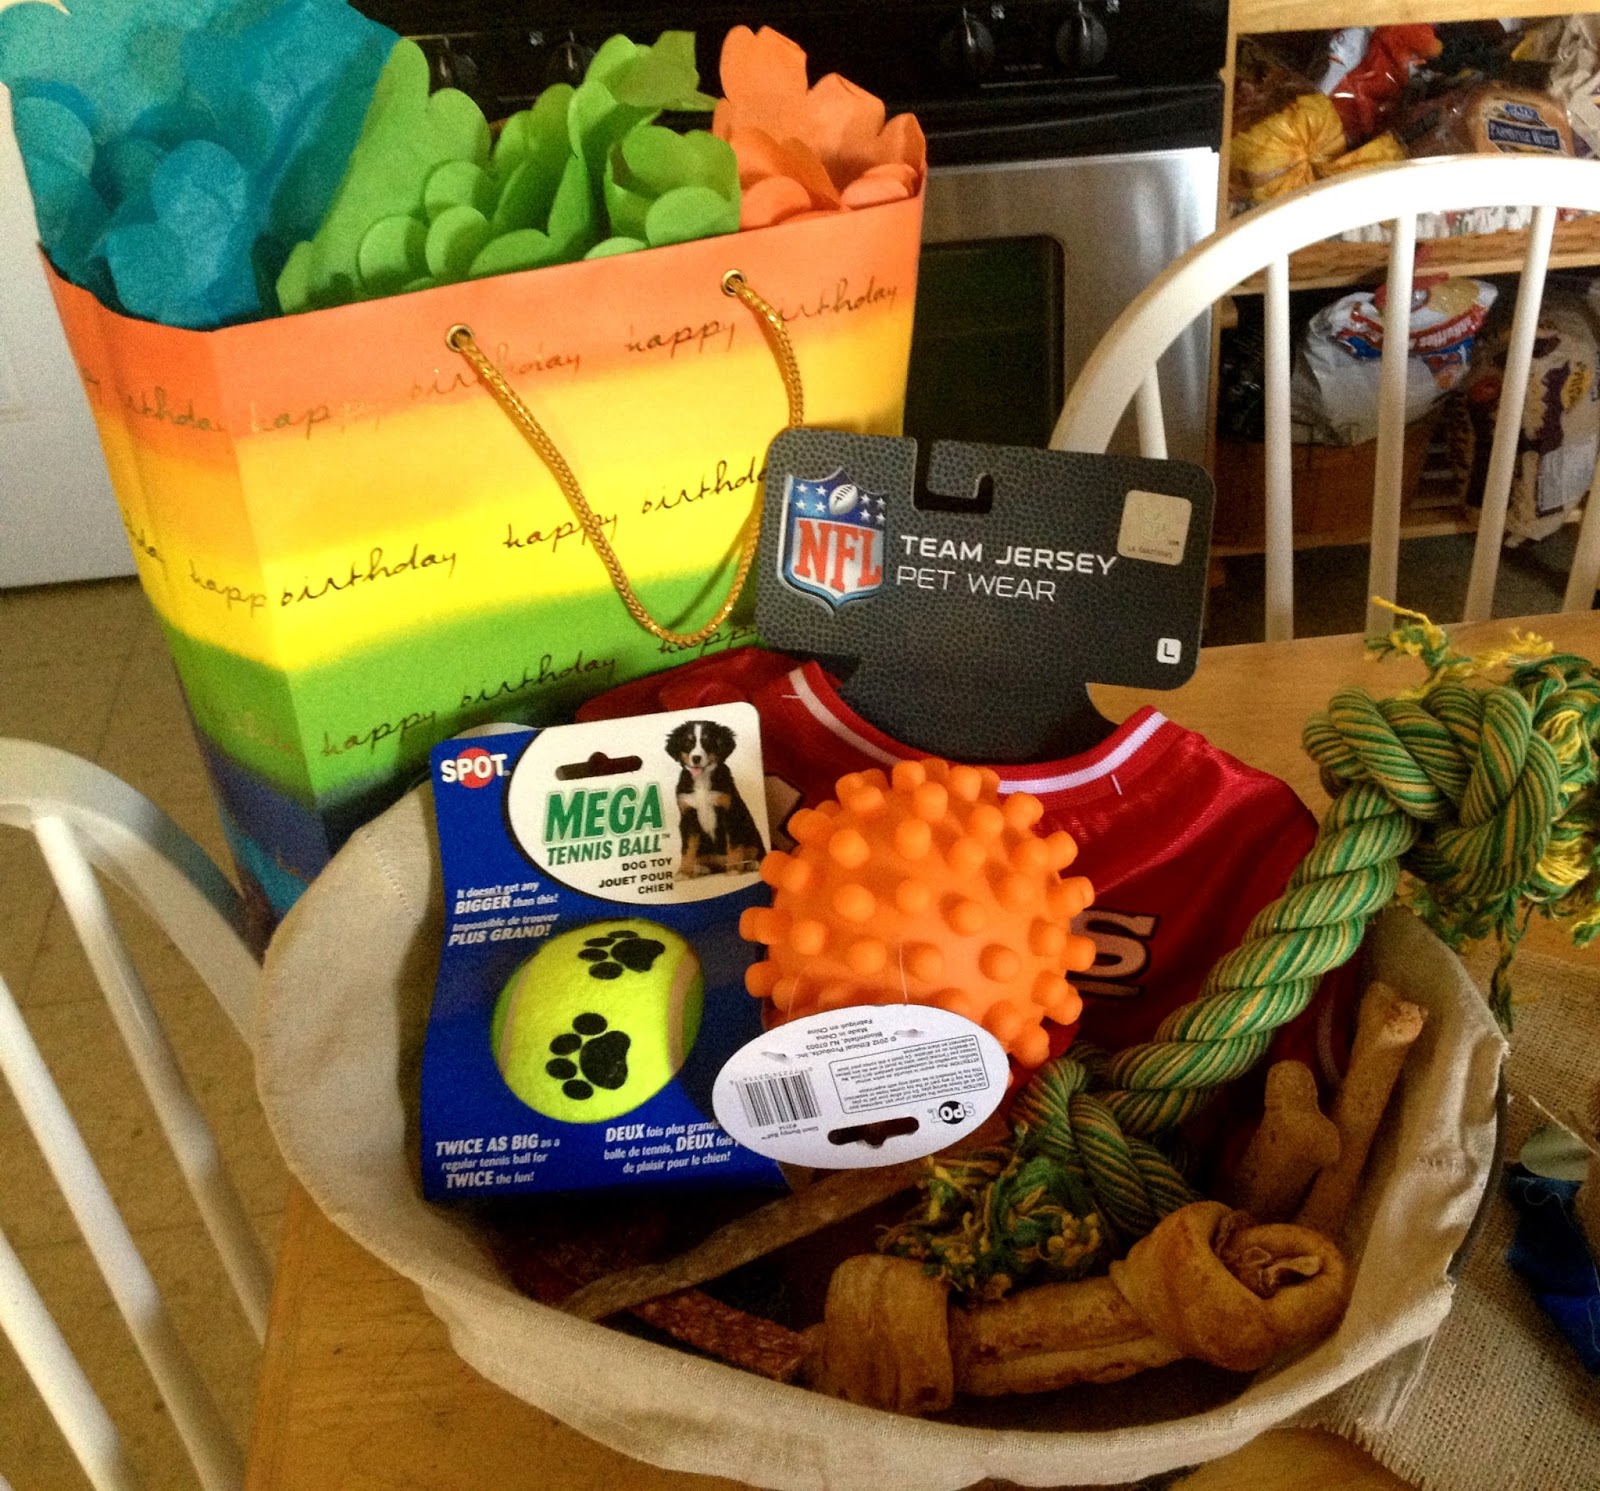
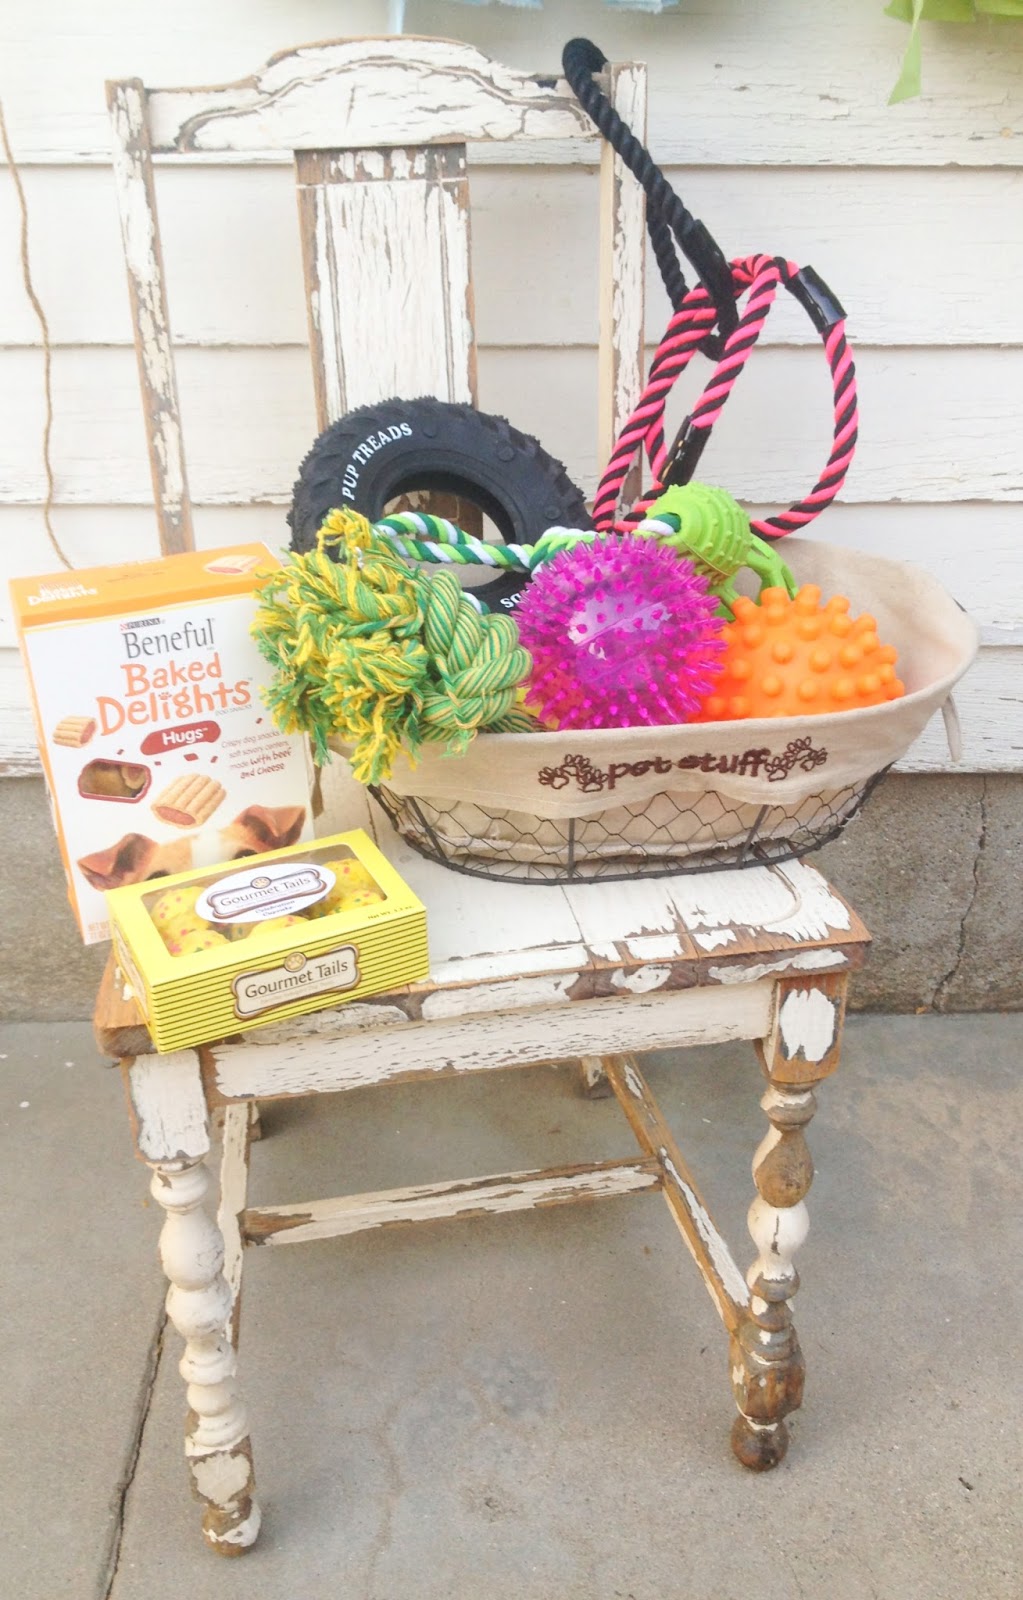
He got extra spoiled with lots of gifts.

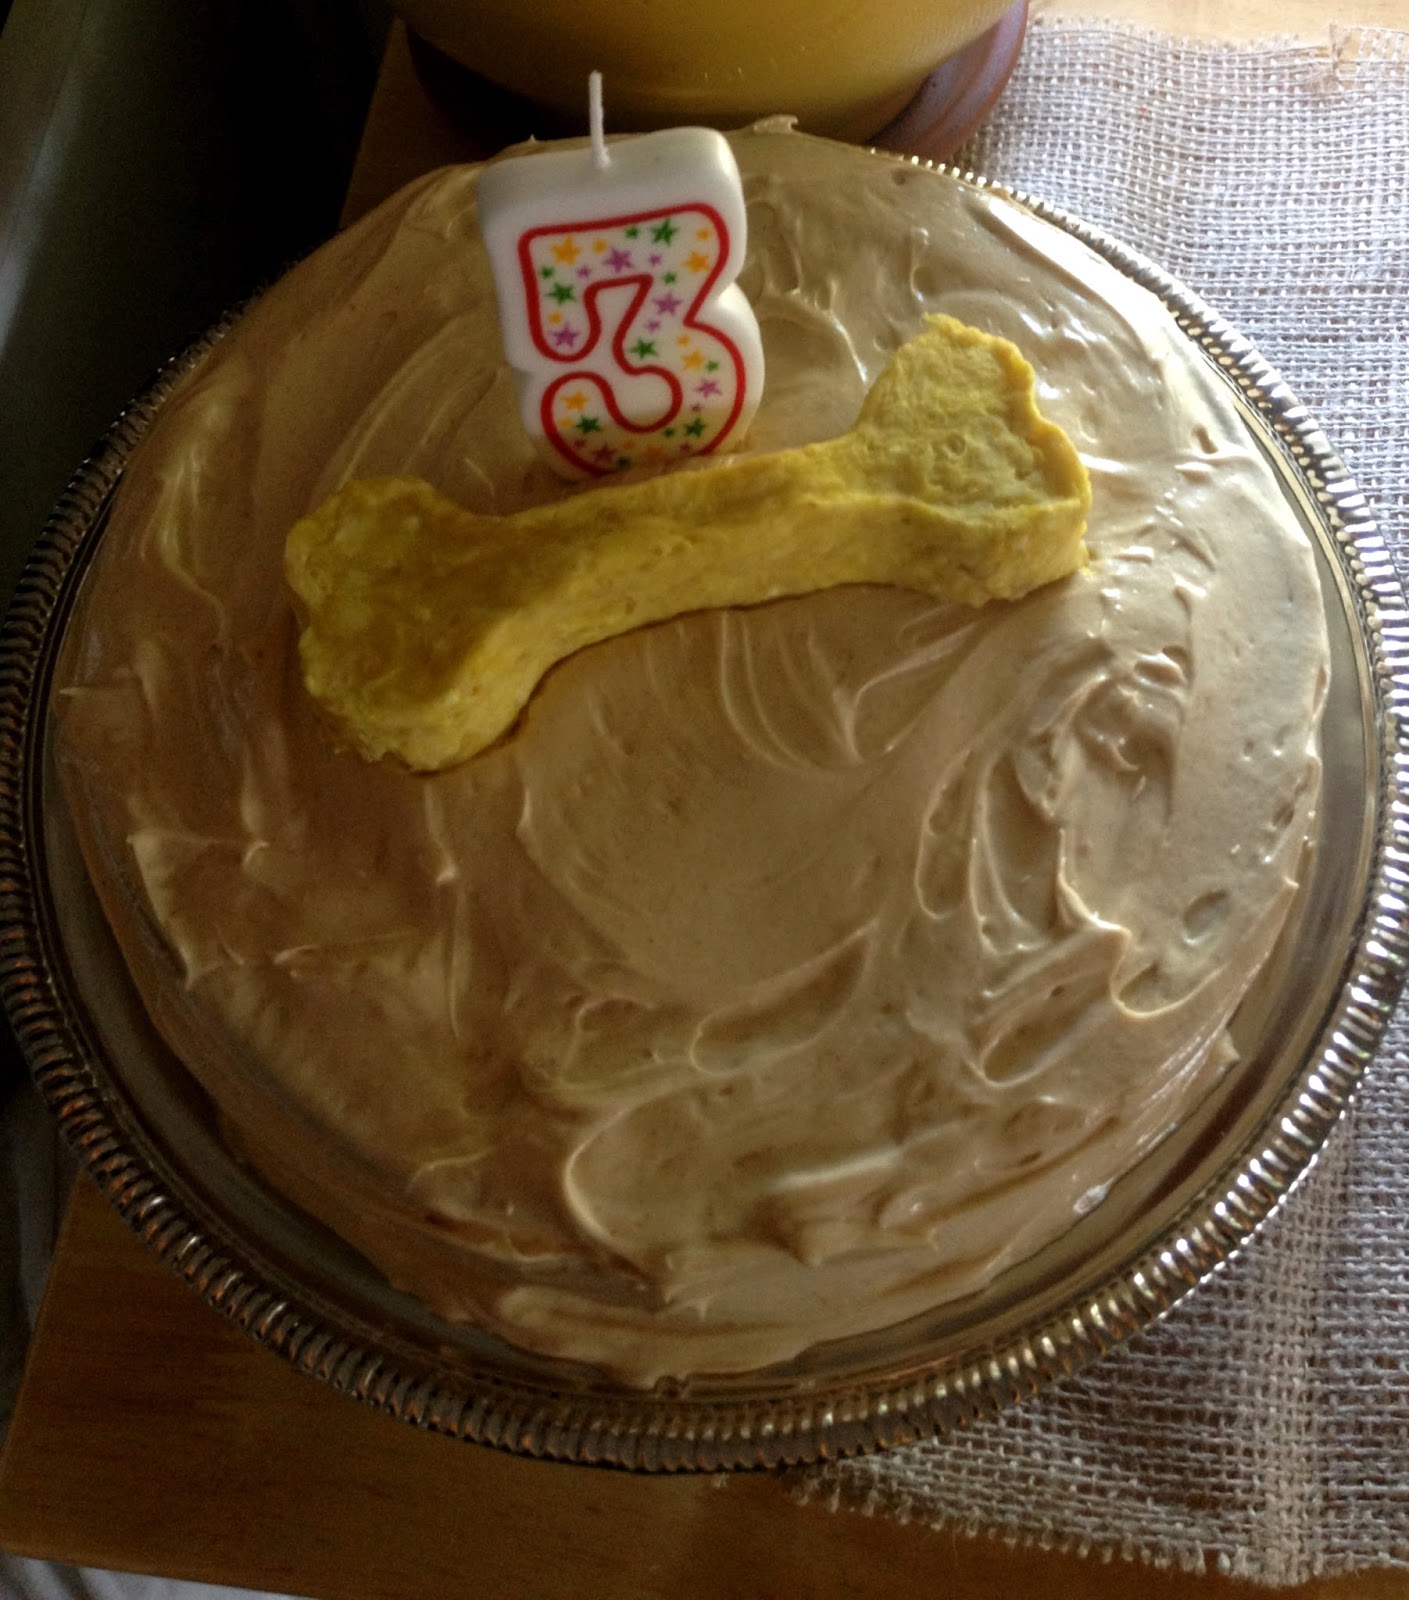
I baked a Dog Friendly cake for him!

Here is the recipe:

ingredients:
  • 1 overripe banana, mashed
  • 1 heaping spoonful of natural peanut butter
  • 1/4 cup canola oil
  • 1 egg
  • 1/2 cup whole wheat pastry flour
  • 1 tsp baking powder
  • splash of water
  • peanut butter for frosting
  • cool whip or plain yogurt for frosting
directions:
combine ingredients in a small bowl, in order, mixing well after adding each ingredient.
pour into a 5 x 7 baking dish that has been sprayed with oil.
bake at 350 degrees for 20 minutes.
remove from oven and let cool.
Mix peanut butter and cool whip or plain yogurt together and frost when cool.

The people cake! 


Happy 3rd Birthday Titus Bonethug Andrew Wagner! Hope you have the best year yet!

XOXO, Whitney

Sunday, September 15, 2013

A basket of wine for a year of firsts!

One of my close friends is getting married this fall. Her and her soon to be Hubby are getting married at a vineyard and they really enjoy wine! 

I knew that I wanted to create a gift that was meaningful, and memorable, so I decided to create a Basket of wine for a year of firsts. I had seen this gift idea on Pinterest, but I tweaked the little sayings, and changed some of them around. The basket included 6 bottles: 4 bottles of wine, 1 bottle of champagne, and one bottle of sparkling cider. I also included some fun little extra things: wine glass labels, a wine stopper, and some napkins with her new last name initial on them.
This was the final product.


Here are the poems that I tied on the bottles:


Wedding night
Bottle of Champagne
Today was one of the most special days of your life; you are officially husband and wife. The night you have dreamed of is finally here, the future surrounds you with hope and fear.  May you always remember the vows that you shared, a gift from above you are perfectly paired. Today is the day you’ve married your soul mate, so sip on this wine, and toast to this very special date.

First BIG fight
Bottle of wine
Two imperfect people living together, is bound to cause some stormy weather. Learn to let the little things go. Forgive and makeup so that you can grow. Pour a glass and forget the past, your marriage is one that is made to last.

First Christmas
Bottle of wine
Hearts are full of magic this time of year, so enjoy this bottle with lots of cheers. Celebrate old traditions, and start new ones of your own. Remember that Jesus is the reason for the season and make His name known. While sharing lots of kisses, make a fun toast to your first Christmas as a Mr. and Mrs.

                                                                   First Anniversary
Bottle of wine
You wear your love and joyfulness as husband and wife. By looking like the last year was the best year of your life. Happy One Year Anniversary (Groom's name) and (Bride's name) here is my wish for you, May the love you had in the first year double in number two.

First Baby
Bottle of sparkling cider
The news that a baby will soon share your life will make you a Mommy, not only a wife. You’ll see it through with some good times and some bad. (Bride's name) the loving Mom and (Groom's name) the dearest Dad. Even though she must toast with this sparkling cider in just 9 months she’ll have a precious, bubbly baby beside her.

 I put this on a sixth bottle of wine
This basket of wines, I’ve selected with care to celebrate the marriage milestones that you two will share. Congratulations (Groom's name) and (Bride's name), on the start of your forever! May the two of you always be happy together! Drink these wines on each of the designated days, wishing you all the best and that wedded bliss will come your way!

I used tulle as ribbon to tie in bows on the tops of the bottles. It makes for a very fluffy bow, and looks really fun and fancy. 


The Bride absolutely loved this gift and I absolutely loved putting it together! 

XOXO, Whitney